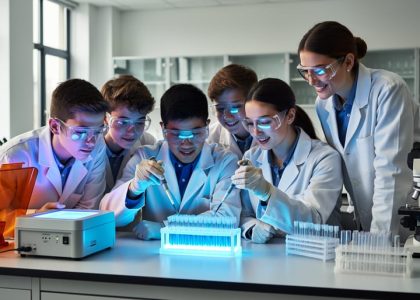
Transform your classroom into a functioning biotechnology laboratory using simple materials already available in most schools. A basic DNA extraction lesson requires only dish soap, salt, rubbing alcohol, and strawberries—costing less than $20 for an entire class and delivering the profound experience of students holding actual genetic material in test tubes. Start with this foundational activity to build student excitement and your own confidence before progressing to more complex techniques.
Establish clear safety protocols from day one by creating a dedicated wet lab space, even if it’s just a designated corner with proper signage, hand-washing stations, and labeled storage. Train students on laboratory behavior expectations through repeated practice with low-risk activities like pH testing or microscope work before introducing biological materials. This graduated approach reduces accidents while developing the procedural muscle memory that professional scientists rely on daily.
Overcome budget limitations through strategic partnerships and creative sourcing. Contact local universities, hospitals, or biotech companies to request donated equipment or arrange facility tours that complement your lessons. Many organizations maintain education outreach programs specifically designed to support K-12 science teachers. Apply for mini-grants through your district, parent-teacher organizations, or foundations like DonorsChoose that fund classroom projects.
Design lessons that connect biotechnology concepts directly to students’ lives and communities. Enzyme activity demonstrations using hydrogen peroxide and yeast make abstract concepts tangible. Bacterial transformation experiments with antibiotic resistance markers reveal how scientists develop new medicines. Bioremediation projects testing local soil or water samples engage students in authentic scientific inquiry while addressing real environmental challenges.
Your role is not to be a biotechnology expert but rather a facilitator who learns alongside students. Embrace questions you cannot immediately answer as opportunities to model scientific thinking and research skills. The most powerful biotechnology lessons emerge when curiosity drives discovery for both teacher and student.
What Makes a Biotechnology Wet Lab Different from Traditional Science Classrooms
A biotechnology wet lab brings a transformative dimension to K-12 science education that extends far beyond traditional classroom instruction. Unlike conventional science spaces where students primarily observe demonstrations or conduct simple experiments, wet labs immerse learners in authentic scientific practices using living organisms and specialized techniques that mirror professional research environments.
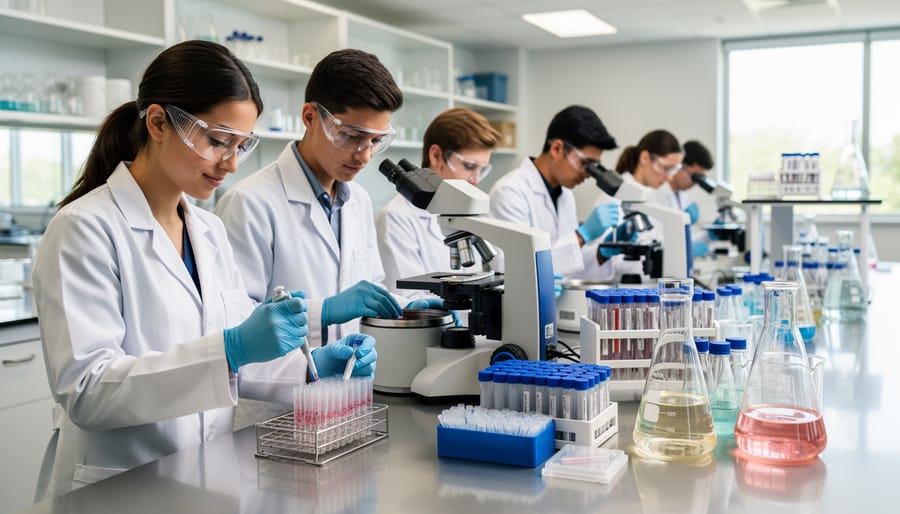
The defining characteristic of a wet lab is its focus on working with biological materials such as bacteria, DNA, enzymes, and living cells. This hands-on engagement requires specific equipment that you might not find in standard classrooms, including micropipettes for precise liquid measurement, incubators for growing cultures, gel electrophoresis systems for DNA analysis, and centrifuges for separating materials. However, implementing a wet lab doesn’t necessarily mean a complete overhaul of your existing space. Many schools successfully integrate biotechnology activities into traditional science classrooms by creating dedicated stations or utilizing portable equipment kits.
Safety considerations naturally differ from conventional science instruction. Wet labs require clear protocols for handling biological materials, proper disposal procedures, and personal protective equipment like gloves and safety goggles. Yet these requirements actually provide valuable learning opportunities, teaching students professional laboratory practices and responsibility that transfer to numerous career paths.
The contrast with traditional instruction becomes most apparent in student engagement. Rather than reading about genetic engineering or watching videos about molecular biology, students extract real DNA, transform bacteria with new traits, or analyze their own genetic markers. This experiential learning builds scientific confidence and critical thinking skills in ways that textbook-based lessons cannot replicate.
What makes biotechnology wet labs particularly exciting is their accessibility. Similar to STEM makerspace environments, wet labs can be adapted to various budget levels and space constraints. Starter kits, partnerships with local universities, and grant opportunities make implementation feasible for schools across different resource spectrums, ensuring that every student can access this transformative learning experience.
Essential Components of an Effective Biotechnology Lesson
Aligning Lessons with Standards and Real-World Applications
Connecting biotechnology lessons to educational standards doesn’t mean sacrificing student engagement. The Next Generation Science Standards (NGSS) align beautifully with hands-on biotech activities, particularly under the Life Sciences and Engineering Design performance expectations. When planning your biotechnology lesson, reference specific standards like HS-LS1-1 (cellular structures) or MS-LS1-2 (cell processes) to show administrators and colleagues how real laboratory science experiences meet curriculum requirements.
The real power comes from bridging these standards with authentic applications. When students extract DNA, connect it to genetic testing used in personalized medicine. Bacterial transformation labs can link to insulin production or environmental bioremediation projects. Agriculture applications like CRISPR gene editing or disease-resistant crops help students see biotechnology’s role in food security. These connections transform abstract concepts into relevant, career-oriented learning.
Many state standards include crosscutting concepts like cause and effect or systems thinking, which biotechnology naturally addresses. Document these connections in your lesson plans to build support for lab funding and program expansion.
Consider inviting local professionals through virtual classroom visits or developing case studies from current research. These authentic touches help students understand biotechnology careers while meeting standards for scientific literacy and real-world problem solving. Your interactive tools and community forums can help you discover additional alignment strategies other educators have successfully implemented.
Scaffolding Complex Concepts for Different Grade Levels
Building a successful biotechnology program means meeting students where they are developmentally. Elementary students (K-5) can begin with observable concepts like extracting DNA from strawberries using household materials. This hands-on activity introduces the idea that DNA exists in all living things without requiring advanced laboratory equipment. Students at this level respond well to storytelling approaches that personify cells and molecules, making abstract concepts tangible.
Middle school students (6-8) are ready for more structured investigations. They can conduct bacterial transformation experiments using non-pathogenic E. coli and practice sterile technique with agar plates. At this stage, introduce the scientific method more formally while maintaining the excitement of discovery. Students can design their own experiments testing variables like antibiotic resistance, connecting their lab work to real-world applications like medicine development.
High school students (9-12) can tackle sophisticated techniques including gel electrophoresis, PCR simulations, and genetic engineering concepts. These learners benefit from understanding the ethical dimensions of biotechnology alongside the technical skills. Consider having students analyze case studies, debate CRISPR applications, or design solutions to agricultural challenges using biotech tools.
Across all levels, scaffold complexity by starting with observation before moving to manipulation. Use visual models, analogies from everyday life, and incremental skill-building. Remember that successful scaffolding means providing just enough support to help students reach the next level independently. Offer extension activities for advanced learners while ensuring core concepts remain accessible to everyone. Your classroom community will thrive when each student feels capable of being a scientist.
Building Student Confidence Through Structured Inquiry
Building confidence in biotechnology requires a thoughtful progression that moves students from observation to independent investigation. Start with teacher-led demonstrations where you model proper techniques, safety protocols, and scientific reasoning. For example, demonstrate DNA extraction from strawberries while thinking aloud about each step and explaining the science behind it.
Next, transition to guided inquiry where students follow structured protocols but make predictions and analyze results independently. Provide worksheets with questions that prompt critical thinking: “Why did we use salt in this procedure?” or “What would happen if we changed the temperature?” This scaffolded approach supports students while encouraging scientific reasoning.
As confidence grows, introduce modified inquiry activities where students choose one variable to investigate within a safe framework. They might explore how different fruits yield varying DNA amounts or test temperature effects on enzyme activity. These hands-on learning environments build problem-solving skills progressively.
Finally, advanced students can design complete experiments, developing hypotheses, selecting materials, and creating procedures for teacher approval. Celebrate all attempts, emphasizing that unsuccessful experiments teach valuable lessons. Use peer sharing sessions and digital forums where students discuss findings, building a supportive community of young scientists who learn from each other’s experiences.
Budget-Friendly Strategies for Starting Your Wet Lab Program
Starting a wet lab program doesn’t require a massive budget or state-of-the-art facilities. With strategic planning and creative thinking, you can launch meaningful biotechnology experiences that engage students and build scientific literacy, even with limited resources.
Begin by focusing on essential equipment that delivers maximum educational impact. Simple micropipettes, reusable glassware, and basic measuring tools form the foundation of most biotech activities. Consider purchasing used equipment from university surplus sales or medical facilities upgrading their instruments. Many schools have successfully acquired functional centrifuges, microscopes, and incubators at fraction-of-retail prices through these channels. Digital thermometers and pH meters represent smart initial investments since they support multiple experiment types and last for years with proper care.
For truly budget-friendly equipment strategies, explore DIY alternatives that deliver authentic learning experiences. Students can construct their own gel electrophoresis chambers using plastic containers and electrical components for under twenty dollars. Homemade incubators fashioned from coolers and light bulbs maintain stable temperatures suitable for bacterial cultures. These adaptations not only save money but also teach students about scientific improvisation and engineering principles.
Grant opportunities specifically target STEM education initiatives. Organizations like the National Science Foundation, local community foundations, and industry groups regularly fund classroom biotechnology programs. DonorsChoose provides a platform where teachers can request specific supplies while connecting with donors interested in supporting science education. Many applications succeed when they clearly articulate student benefits and demonstrate thoughtful planning.
Building partnerships opens doors you might not expect. Reach out to nearby universities, community colleges, and biotech companies about equipment donations, guest speakers, or facility tours. Many professionals eagerly mentor students and share resources with schools. Some companies offer educational discounts or donate discontinued but functional equipment. University labs sometimes provide consumable materials like agar or bacterial strains at minimal cost.
Prioritize purchases strategically by starting with versatile, durable items that support multiple lessons throughout the year. Focus initially on DNA extraction and microscopy activities, which require fewer specialized materials than more advanced techniques. As your program grows and proves its value, you can gradually expand capabilities.
Remember to leverage free online resources, including protocols, safety guides, and lesson plans shared by experienced educators through community forums and educational websites. Your journey toward establishing a wet lab program is entirely achievable, one strategic step at a time.
Safety First: Creating a Secure Wet Lab Environment
Creating a safe wet lab environment starts with recognizing that safety isn’t about perfection—it’s about preparation and respect for the materials you’re working with. If you’re new to wet lab teaching, know that developing strong safety protocols is entirely achievable with the right approach and resources.
Begin by establishing core safety training for yourself before introducing activities to students. Many universities, community colleges, and science education organizations offer short workshops specifically designed for K-12 educators. These sessions typically cover fundamental laboratory techniques, emergency procedures, and proper handling of biological materials. Online modules are also available for flexible, self-paced learning that fits your schedule.
For student training, integrate safety instruction as part of the lesson itself rather than treating it as a separate hurdle. Students respond well when they understand the why behind safety rules. Explain how protective equipment like gloves and goggles serves specific purposes, and demonstrate proper techniques before each activity. Create simple, visual safety checklists that students can reference throughout their work—these serve as helpful reminders without constant teacher intervention.
Proper disposal procedures are non-negotiable but need not be complicated. Most basic biotechnology activities in K-12 settings involve low-risk materials that can be safely deactivated using diluted bleach solutions before standard disposal. Establish clearly labeled disposal containers for different waste types, and make disposal part of the lab routine rather than an afterthought.
Building a culture of safety means normalizing questions and concerns. Encourage students to speak up if something seems wrong, and model this behavior yourself by openly discussing your own learning process. Consider creating a safety ambassador role that rotates among students, giving them ownership of maintaining protocols.
Remember, every experienced wet lab teacher started exactly where you are now. Start with simpler activities, gradually building both your confidence and your students’ skills. Safety grows naturally from consistent practice and clear communication, not from having every possible scenario mapped out on day one.
Proven Biotechnology Lessons That Engage Every Student
DNA Extraction from Everyday Materials
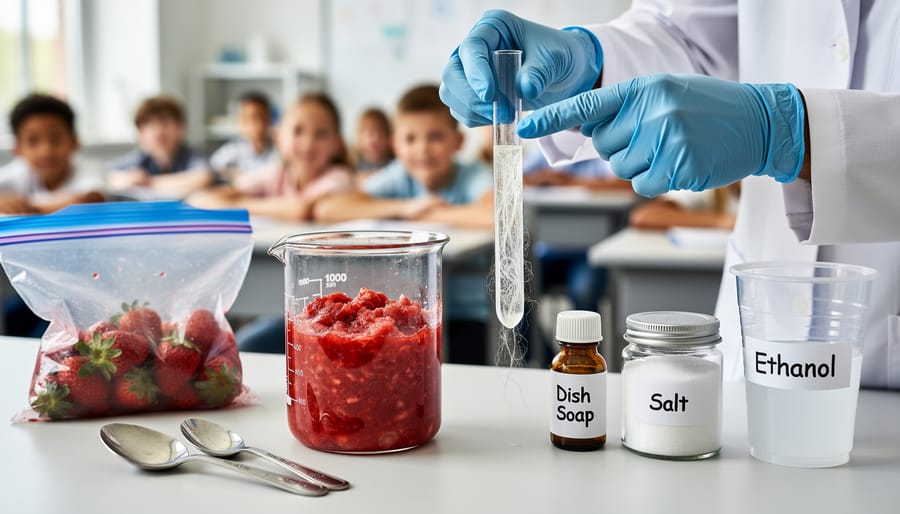
Strawberry DNA extraction offers an engaging, low-cost introduction to biotechnology that works beautifully across grade levels. You’ll need fresh strawberries, dish soap, salt, water, and rubbing alcohol—materials likely already in your classroom or easily obtained.
Begin by having students mash two strawberries in a sealed bag, breaking down cell walls. Mix extraction solution (one teaspoon dish soap, half teaspoon salt, and half cup water) and add to the mashed strawberries. After gentle mixing for one minute, filter the liquid through cheesecloth into a clear container. Slowly pour cold rubbing alcohol down the container’s side. Students will observe white, stringy DNA precipitating at the alcohol-water interface—a truly magical moment.
Discussion questions to deepen understanding: Why do we need soap in our extraction solution? What do you think the salt does? How does this process compare to DNA extraction in professional laboratories?
Extension activities include comparing DNA yield from different fruits, exploring how temperature affects extraction, or researching careers in genetic research. This accessible experiment builds confidence in biotechnology skills while demonstrating that meaningful science doesn’t require expensive equipment. Students gain hands-on experience with protocols, observation skills, and scientific reasoning—foundational competencies for future biotech exploration.
Modeling Genetic Engineering and CRISPR Concepts
Making CRISPR accessible doesn’t require expensive equipment. Start with simple paper models where students use scissors to “cut” DNA sequences printed on colored strips, then insert new sequences using tape. This tangible activity helps students grasp the cut-and-paste mechanism of gene editing. For a more interactive approach, pool noodles work wonderfully as DNA strands, with students physically removing sections and adding new segments.
Online simulations provide another excellent pathway. Free platforms like PBS NOVA’s CRISPR interactive allow students to virtually edit genes and observe outcomes. Pair these activities with real-world case studies, such as developing disease-resistant crops or treating sickle cell anemia.
The ethical component is essential. Create small group discussions where students debate scenarios: Should we edit human embryos? Who decides which traits to modify? Present diverse perspectives from scientists, bioethicists, and affected communities. Encourage students to research regulatory frameworks from different countries, highlighting how societies balance innovation with caution.
These activities build scientific literacy while developing critical thinking skills. Students learn that biotechnology isn’t just about what we can do, but what we should do, preparing them to engage thoughtfully with future scientific developments.
Investigating Microorganisms and Bacterial Growth
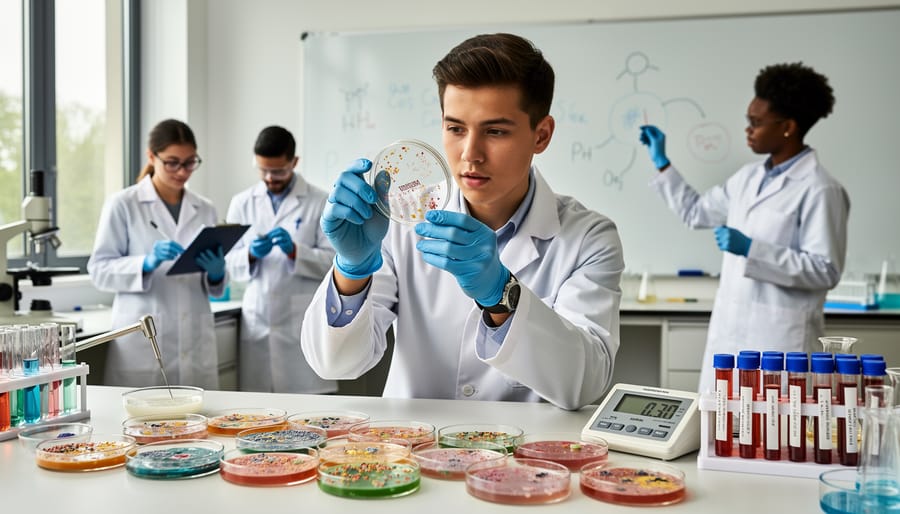
Bringing microbiology into your classroom creates powerful connections between science and students’ daily lives. Start with simple, safe bacterial cultures using pre-sterilized agar plates and common surfaces like door handles or smartphone screens. Students can swab different areas, culture the samples, and observe growth patterns over several days. This activity naturally leads to discussions about handwashing, food safety, and how microorganisms affect our health.
Antibiotic resistance makes an excellent real-world investigation. Using harmless bacteria and antibiotic discs, students can test which treatments are most effective by measuring zones of inhibition. This hands-on experience helps them understand why completing prescribed antibiotics matters and connects classroom learning to current public health concerns.
The human microbiome offers another engaging angle. Students can research how beneficial bacteria support digestion, immunity, and overall wellness. Consider incorporating yogurt-making demonstrations to show practical applications of fermentation and probiotics. These activities require minimal equipment while maximizing student engagement.
Safety remains paramount. Always use BSL-1 organisms, maintain sterile technique, and seal all cultures with parafilm. Provide clear protocols for proper disposal through autoclaving or bleach treatment. With appropriate precautions, these investigations empower students to explore microbiology confidently while developing essential laboratory skills and scientific literacy.
Overcoming Common Challenges in Wet Lab Teaching
Teaching wet lab biotechnology can feel overwhelming, but you’re not alone in facing these challenges. Many educators encounter similar obstacles, and with the right strategies, you can create successful lab experiences for your students.
Time constraints rank among the most common concerns. A typical class period rarely accommodates a complete biotechnology experiment. The solution lies in breaking activities into manageable segments. Consider running experiments across multiple days, allowing students to observe changes over time while learning patience and scientific methodology. Pre-lab preparation sessions where students learn techniques using water instead of reagents can save precious minutes during the actual experiment. You might also explore modified protocols designed specifically for classroom settings, which often streamline procedures without sacrificing learning outcomes.
Limited training in biotechnology techniques shouldn’t hold you back. Many free professional development resources exist online, including video tutorials that demonstrate proper pipetting, gel electrophoresis setup, and sterile technique. Start with simpler activities that build your confidence alongside your students. Partner with colleagues who have lab experience, or reach out through community forums where educators share tips and troubleshoot together. Remember, modeling authentic learning—including acknowledging when you’re learning something new—actually strengthens student engagement.
Student anxiety about lab work deserves thoughtful attention. Some learners worry about making mistakes or damaging expensive materials. Address this by creating a supportive environment where errors become learning opportunities. Practice sessions with inexpensive materials help students develop muscle memory for delicate procedures. Assign lab roles that allow students to contribute according to their comfort levels while gradually building skills.
Classroom management in active learning environments requires different strategies than traditional lessons. Establish clear protocols for movement, equipment sharing, and cleanup before beginning. Use visual guides and checklists to help students stay on task. Interactive tools like timers and step-by-step digital guides keep groups progressing together.
Budget limitations often seem insurmountable, but creative solutions exist. Many experiments use household items or have low-cost alternatives. Seek grants specifically designated for STEM education, connect with local universities for surplus supplies, or organize supply sharing among teachers in your district. Starting small with one core activity builds momentum for expanding your program over time.
Building Your Confidence as a Biotechnology Educator
You don’t need a PhD in molecular biology to teach engaging biotechnology lessons. Many successful biotech educators come from diverse backgrounds, and what matters most is your willingness to learn alongside your students and your enthusiasm for hands-on science exploration.
Start by tapping into professional development resources specifically designed for K-12 educators. Organizations like NABT (National Association of Biology Teachers) and NSTA (National Science Teachers Association) offer workshops, webinars, and online courses that break down complex biotech concepts into teachable components. Many of these programs are low-cost or free and provide certification upon completion.
Online communities serve as invaluable support systems where you can ask questions, share challenges, and celebrate successes. Forums like the BioTech Education Community and science teacher groups on social media platforms connect you with colleagues facing similar obstacles. These spaces allow you to troubleshoot equipment issues, exchange lesson modifications, and discover creative solutions others have already tested in their classrooms.
Consider seeking mentorship from experienced biotech educators in your district or region. Many veteran teachers welcome the opportunity to guide newcomers, offering practical advice on everything from classroom management during lab activities to building relationships with local university labs or biotech companies for resource sharing.
Embrace continuous learning by starting small. Choose one technique, like DNA extraction, and master it before expanding your repertoire. Watch online tutorial videos, practice procedures yourself before teaching them, and remember that mistakes become valuable teaching moments demonstrating the real nature of scientific inquiry.
Your unique perspective as an educator learning these concepts brings authenticity to your classroom. Students often connect better with teachers who openly model curiosity and problem-solving rather than presenting themselves as experts. This growth mindset approach creates a collaborative learning environment where both you and your students discover biotechnology’s possibilities together.
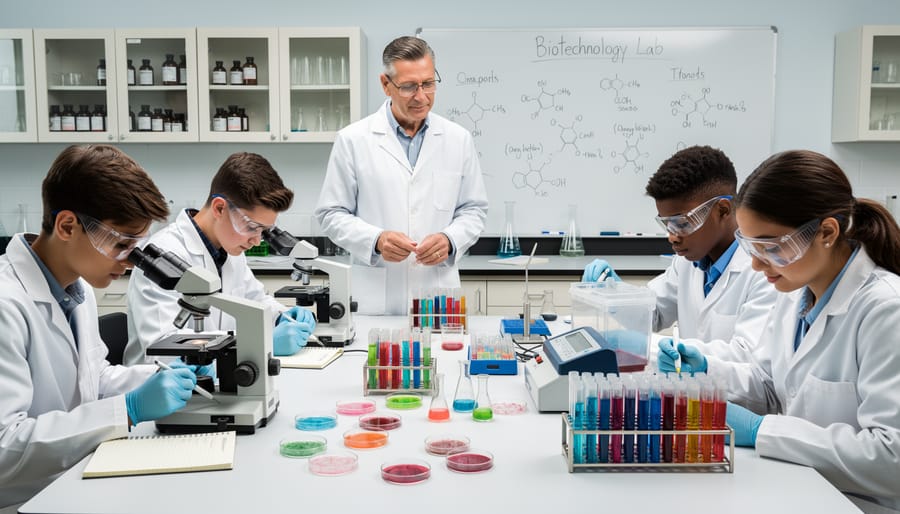
Bringing biotechnology wet labs into your classroom represents more than just another teaching method—it’s an investment in your students’ future. The hands-on experiences you provide today will shape how your students understand science, approach problem-solving, and envision their career possibilities tomorrow. When students extract DNA, observe microorganisms, or explore enzyme reactions firsthand, they develop scientific literacy that extends far beyond textbook knowledge.
Remember, you don’t need to transform your entire curriculum overnight. Starting small is not only acceptable—it’s often the most sustainable approach. Begin with a single accessible experiment, perhaps using household materials or low-cost supplies. As you gain confidence and see your students’ enthusiasm grow, you can gradually expand your biotechnology offerings. Each small step builds your expertise and demonstrates to administrators the value of these learning experiences.
The long-term benefits are clear: students who engage with wet lab activities develop critical thinking skills, experimental design capabilities, and the confidence to pursue STEM pathways. They learn that science isn’t just about memorizing facts—it’s about asking questions, testing hypotheses, and discovering answers through investigation.
You’re not alone in this journey. Connect with fellow educators through community forums where teachers share lesson plans, troubleshoot challenges, and celebrate successes together. These collaborative spaces offer practical support and fresh ideas that can energize your teaching practice. Take that first step today—your students’ scientific futures will thank you.